Making Wedding Sign | Custom Made Wooden Wedding Sign Board
Hi Guys, it’s Tim from Create-A-Lase and today we are going to make a wedding sign board made out of plywood and some MDF. This fancy custom wooden wedding sign board will make a grand statement on your wedding or any occasions, it will surely wow your guests and make the ambiance of your event more special. You can either hang or make a stand for your wedding sign board. Keep on reading the article and we will show you how to make your very own wedding sign board.
Importance of wedding sign board
In today’s time, many stylish concepts are being put up on events especially when it comes to weddings. So why is it really important to get a wedding signboard? Here are a few reasons why; Wedding boards do have many practical uses for events. Starting from navigating your guest to the right location, it will serve as a cue that they’ve arrived at the correct spot.
It will also give them a warm welcome and happy vibes. Second, almost if not everyone already has smartphones, it will not just be your photographer who will take those “snapshots” at your wedding, people at your event will also be thrilled to take those photos and post it on their social media accounts, they will definitely strike a pose beside those beautiful signboards as their souvenir on your once in a lifetime event. Being part of something special is always memorable, right? Now let’s start making your wedding statement pop by creating your very own wedding signboards.
Before we start making a wedding signboard we need to prepare the things and tools we need.
Materials you need:
- Laser Machine
- Plywood, we used a 900×600 mil
- MDF for the letters
- Varnish Stain
- Acrylic Paint
- Wood Glue
- Paint Brush and Roller
- Sander / Sand Paper
- Painters Tape
Software used for the design:
- CorelDraw, though you can follow along with any vector program of choice.
Let’s Start Making our wedding sign board!
Step 1: Open CorelDraw
Or use any vector-based software like Illustrator or Inkscape to set up the file.

Step 2: Get your plywood and make a border on each side
You can improvise and do it manually if you don’t have the power tools or just skip this part. It’s definitely ok, I assure you your wedding board would still look good with or without the borders.

Now, Step 3: Make it smooth
Smoothen your plywood surface using a sander machine or sandpaper for a polished finish.

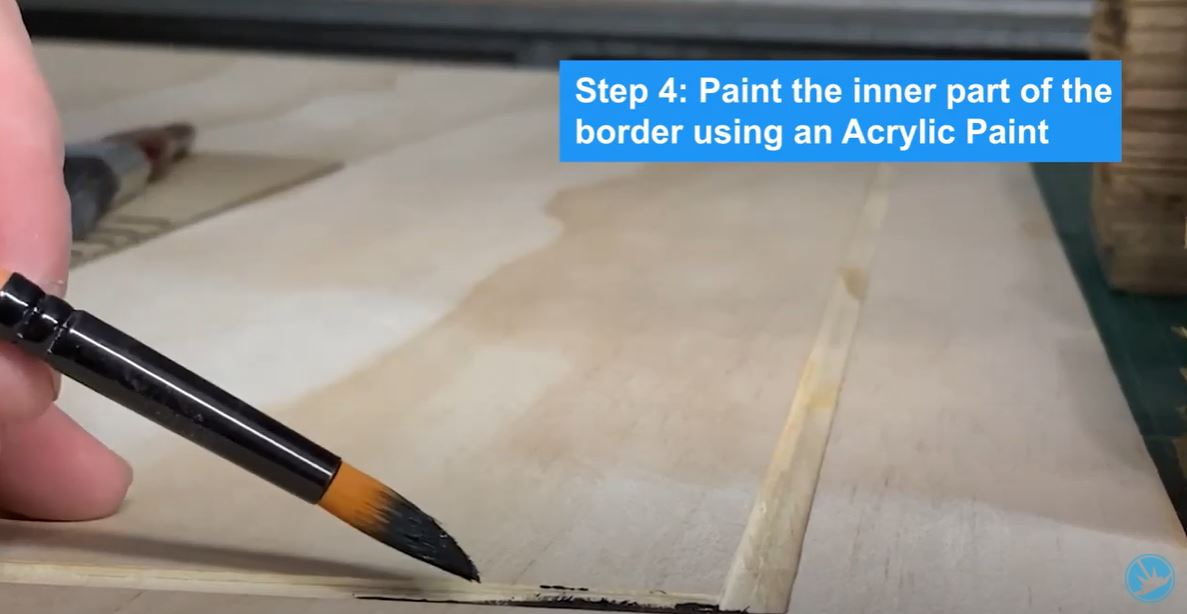
Step 4: Paint the border
Paint the inner part of the border using an Acrylic Paint and let it dry. It will add details to your wedding sign board.
Step 5: Paint it
Get the varnish stain and paint the entire plywood surface. Let it dry.

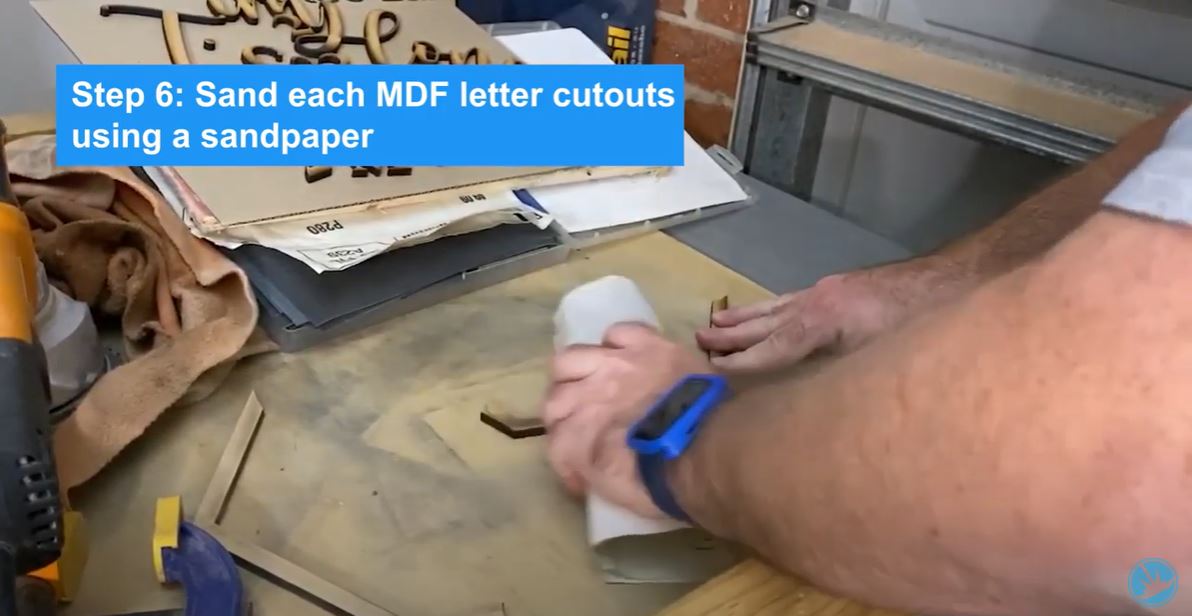
For Step 6: Polish the letters
Sand each MDF letter cutouts using a sandpaper
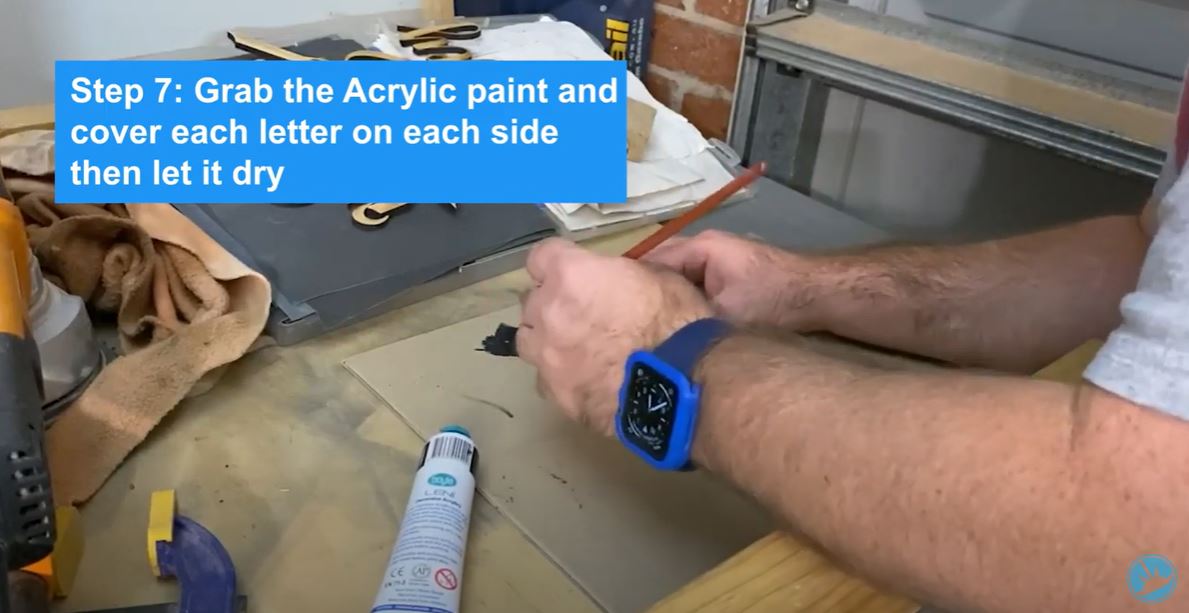
Step 7: Make the letters pop and stand out
Grab the Acrylic paint and cover each letter on each side then let it dry
Step 8: This is important, don’t skip it
Using a painters tape, mark the measurements and map out first all the letter placement.

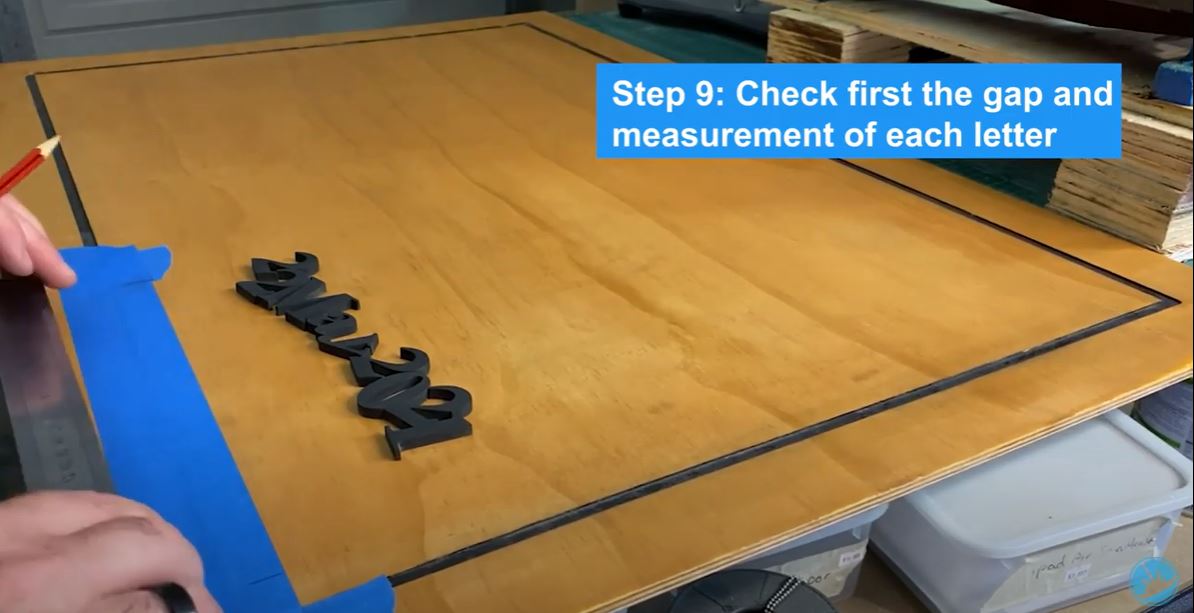
We are almost Done! Step 9: Mark and Place
Check first the gap and measurement of each letter and when you’re happy with the layout stick it using wood glue. Just repeat the process until all the letters are glued.
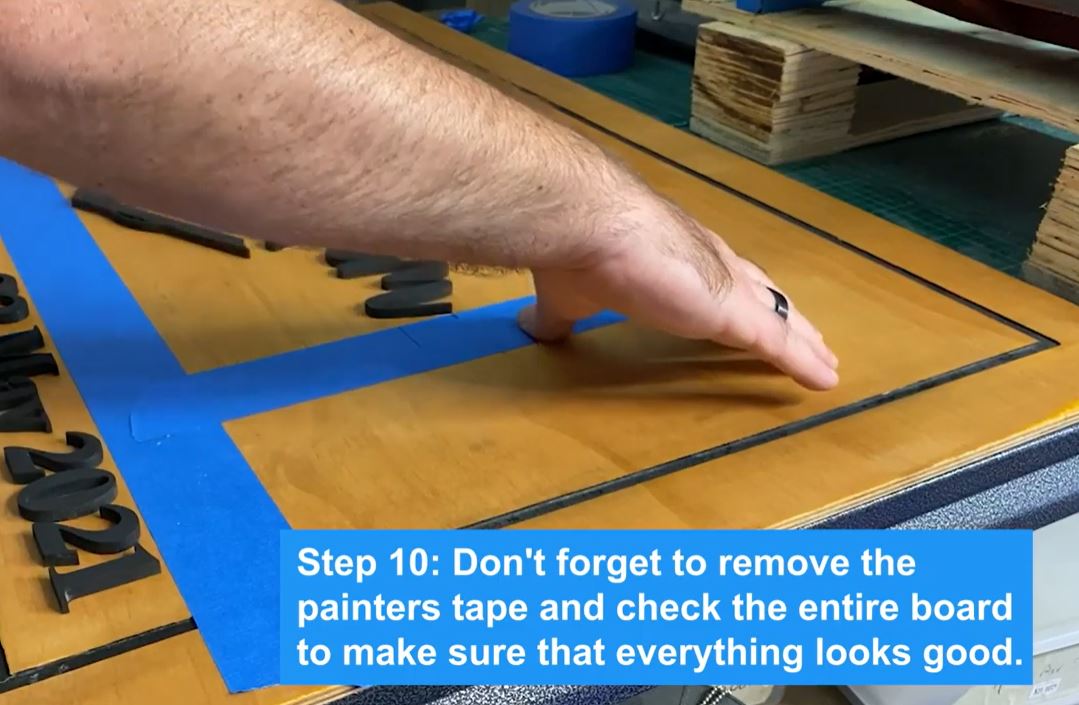
Finally, Step 10: Check and Inspect
Don’t forget to remove the painter’s tape and check the entire board to make sure that everything looks good.
To wrap it up for our wedding sign board
Hope this article helps you in creating your customized wedding sign boards and gives you some input and techniques on how to make one. It doesn’t require you to have the power tools, all you need to do is keep those creative juices flowing and we guarantee that the outcome will be as great as it is. Don’t forget to share this video to anyone you know who loves to create things and DIYs, and they may help you make these beautiful wedding sign boards that will surely leave a grand statement on any event.

You may also check our YouTube channel and watch the video:
https://www.youtube.com/watch?v=kGWNo1Rf9eg&t=20s
Check our previous article titled How To: Wedding Scroll Invites | How to Make Sublimated Wedding Scroll Invites
——
Visit or follow us through our social media platforms below:
http://facebook.com/createalase