Wedding Scrolls Invites | How to Make A Sublimated Wedding Scroll Invites
Hi guys! We are back again. For this week we will show you how we made these beautiful wedding scrolls invite. These wedding scrolls are very lovely, they will look good on any special occasion, better than just the normal printed piece of paper. It will make your event extra special and will surely impress your guests as you announce this once in a lifetime memorable affair.
Keep on reading and we will teach you a step-by-step tutorial on how to make a sublimated wedding scroll invites.
Why is it so important to send your guests some invites?
An invitation sets the signal for an important event. It sends all the vital information that your guests need-to-know without going through a fuss of reminding and talking to them one by one. Your invitation should be one of a kind special so they would be thrilled to attend this momentous event with you. Along with that, these people will feel extra special if you deliver something appealing to the eye which is very essential.
In addition, invitations will definitely help you plan a smoother party flow as it can be your guide, perse the expected number of guests you need to cater on that day, like prepping the right amount of food, reservations, etc, through RSVP information.
Before we start making a wedding scrolls invite we need to prepare the things and tools we need.
Materials you need:
- Sublimation Printer
- Heat Press
- Polyester Fabric
- Heat Transfer Paper –Link to A4 Pack of 20 Transfer Paper
- Teflon Paper
- Wooden sticks for the scroll
- Spray Paint
- Ribbon
- Box for the invite packaging
- Strings and Fake flowers (For designing)
Software used for the design:
- CorelDraw, though you can follow along with any vector program of choice.
Let’s Start Making our Sublimated Wedding Scroll Invites!
Step 1: Open CorelDraw:
Or use any vector-based software like Illustrator or Inkscape to set up the file.

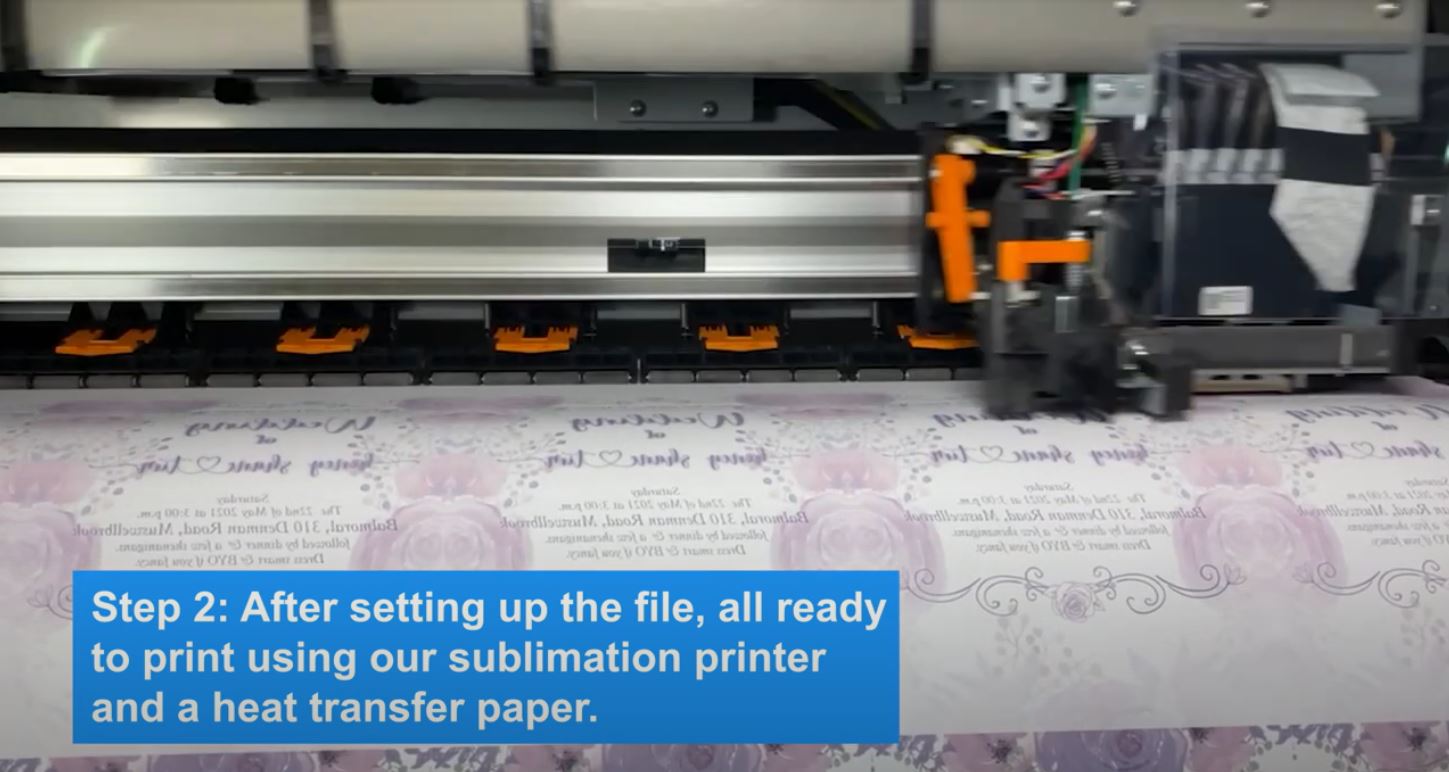
Now Step 2: Ready for Printing:
After setting up the file, prep your sublimation printer and heat transfer paper as we are now ready to print.
Step 3: Have all the materials ready for making wedding scrolls:
Since we have printed everything, we will start assembling the structure of our wedding scroll invites. First, cut the wooden sticks to your desired length. Second, make sure to smoothen the surface to make it look presentable and nice. If you do not have any power tools, sandpaper would definitely do the job.

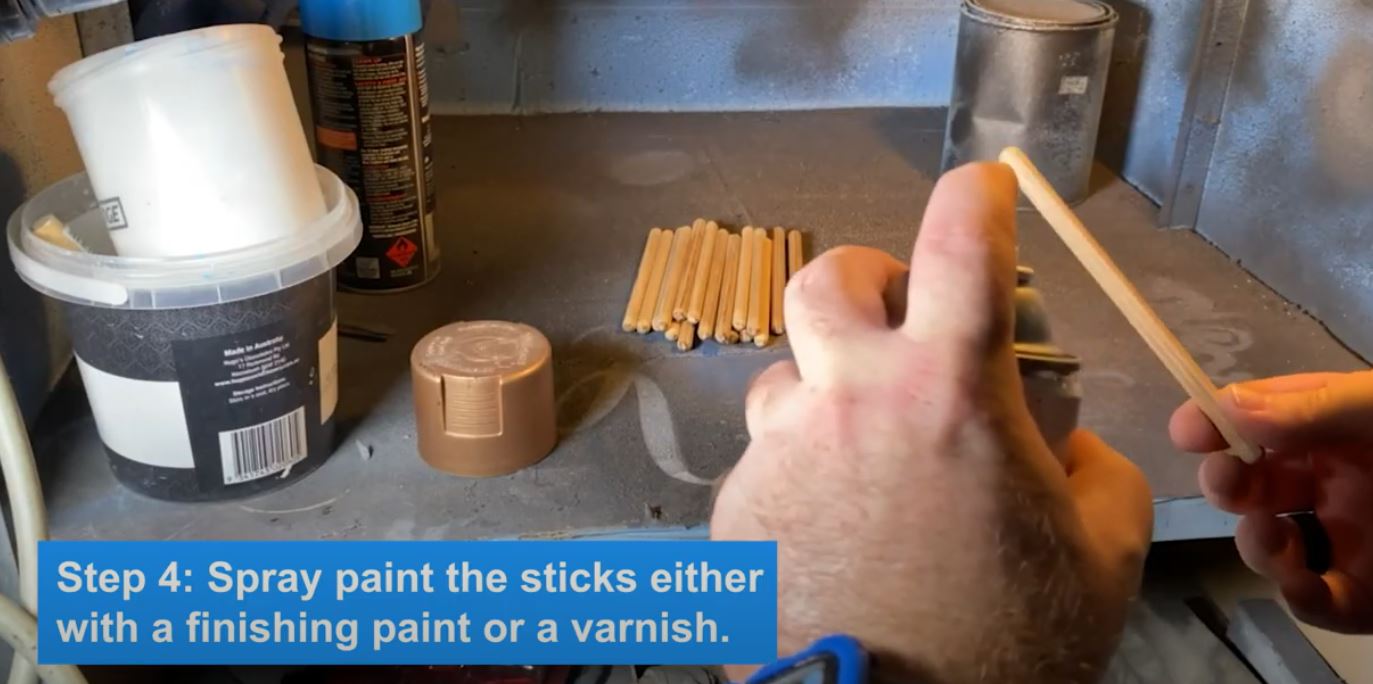
Step 4: Finished look for the wooden sticks:
Spray paint the sticks either with a finishing paint or a varnish.
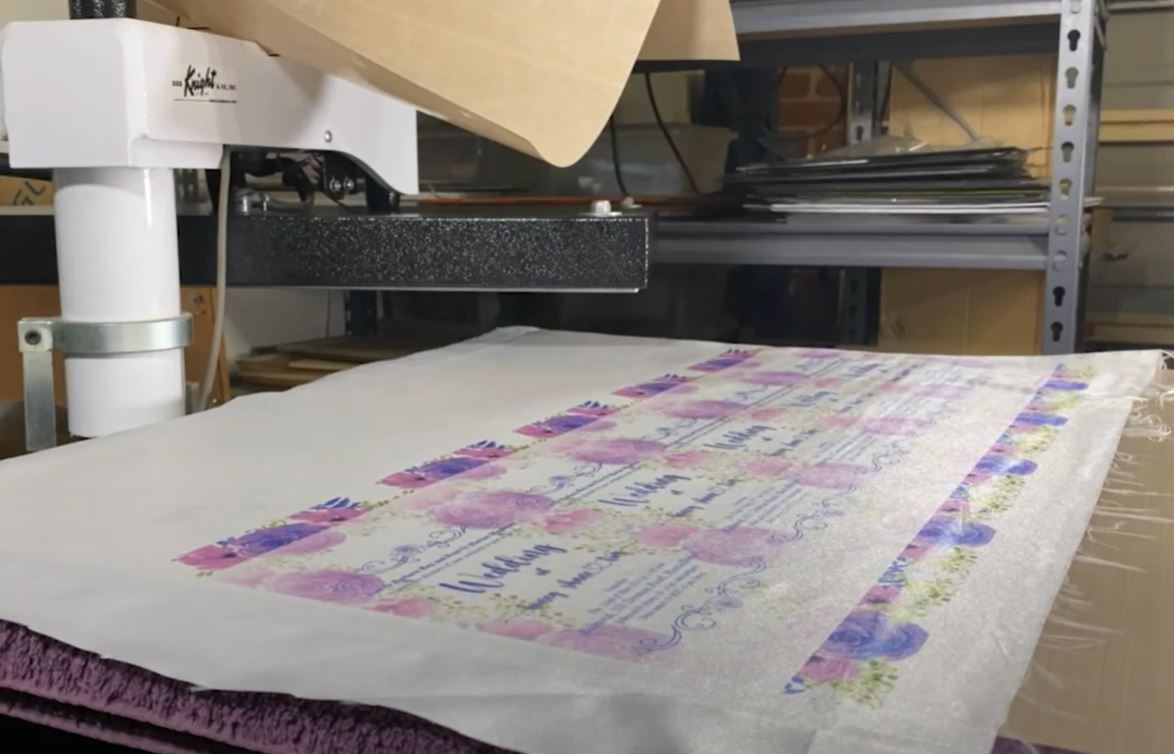
Next Step 5: Transferring the design:
Get the polyester fabric, using the heat press machine transfer the design from the heat transfer paper. Don’t forget to use the Teflon paper to cover before pressing as it will protect your material from direct heat, also, it will help you produce even heat distribution.
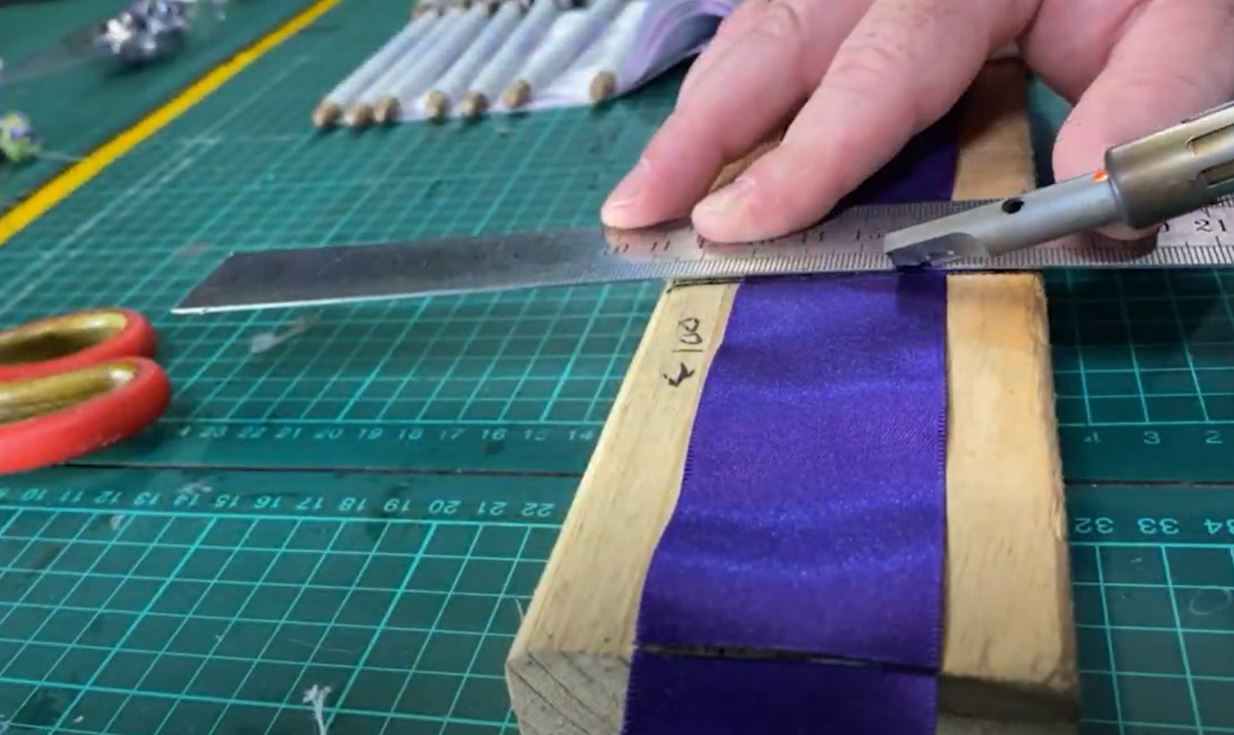
Step 6: Cut out the Fabric:
Cut out each part of the polyester fabric to separate. On this part we used an electric heat cutter or a hot knife. By doing so, it will prevent the fabric from losing side threads from cutting. It will also give the invitation a polished look.

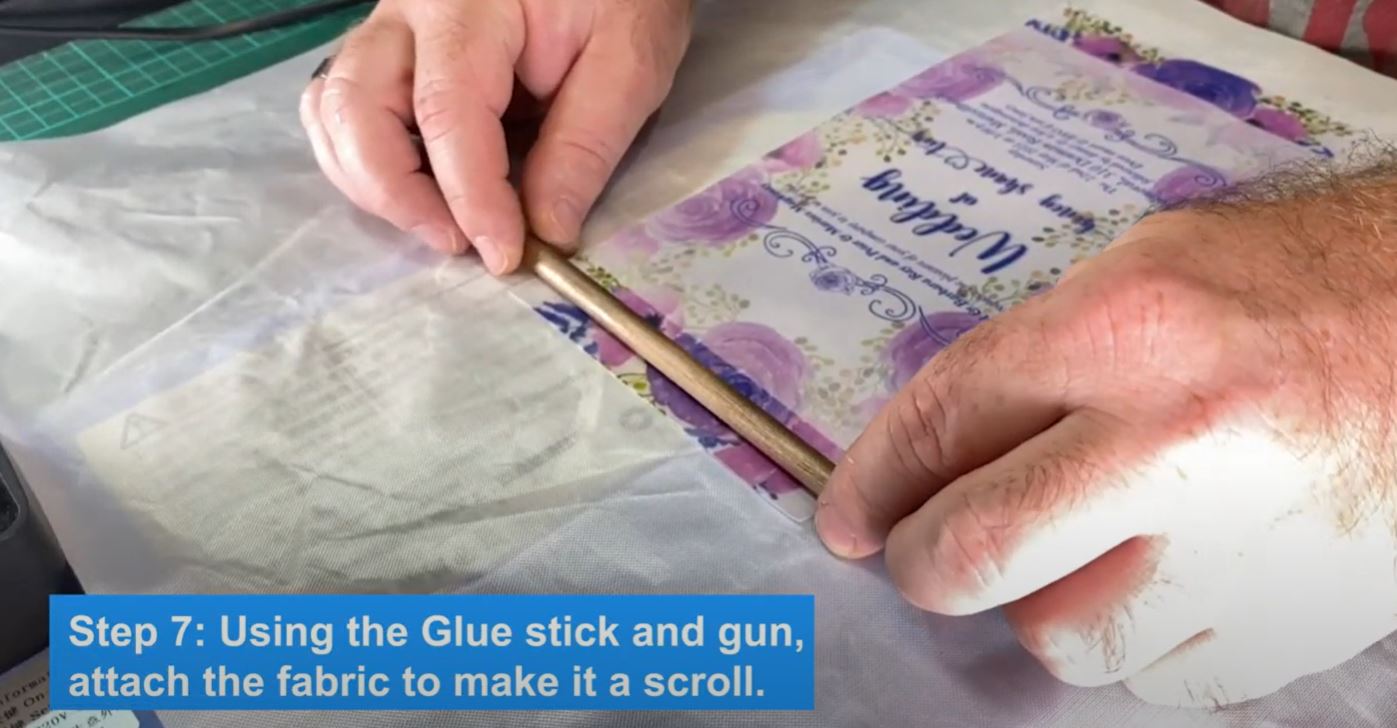
Step 7: Load The Gun!:
Get your glue gun and glue sticks, grab the wooden sticks and cut out printed fabric. Glue it together one on the top and bottom, to achieve a scroll looking invite.
Almost done. Step 8: Prep all the designing materials:
Now, for the fun part! Grab all your designing materials and start prepping it, like cutting down the ribbons, have the ornaments ready. For our wedding invitations, we used some fake flowers to make it look extra special.
Finally, for Step 9: Map out the design, Add your ribbons and flower to finish:
And we are almost done! This will be the fun part as we will now construct the design for the invitation. Add anything you can imagine and think of that will make your invitation stand out.

To wrap it up about making our wedding scrolls invite
Hope this article helps you create your customized invites and gives you some input and techniques on how to make one. It doesn’t require you to have the power tools, all you need to do is keep those creative juices flowing and we guarantee that the outcome will be as great as it is. Don’t forget to share this video with anyone you know who loves to create things and DIYs, and they may help you make these lovely invites for your special day.
——
Check our previous article titled How To: Make A Stamp | Laser Engraved Custom Stamps in the link below:
https://create-a-lase.com.au/article/how-to-make-a-stamp-laser-engraved-custom-stamps/
——
You may also check our YouTube channel and watch the video:
https://www.youtube.com/watch?v=xDqUnvPkqnY
——
Visit or follow us through our social media platforms below:
http://facebook.com/createalase